
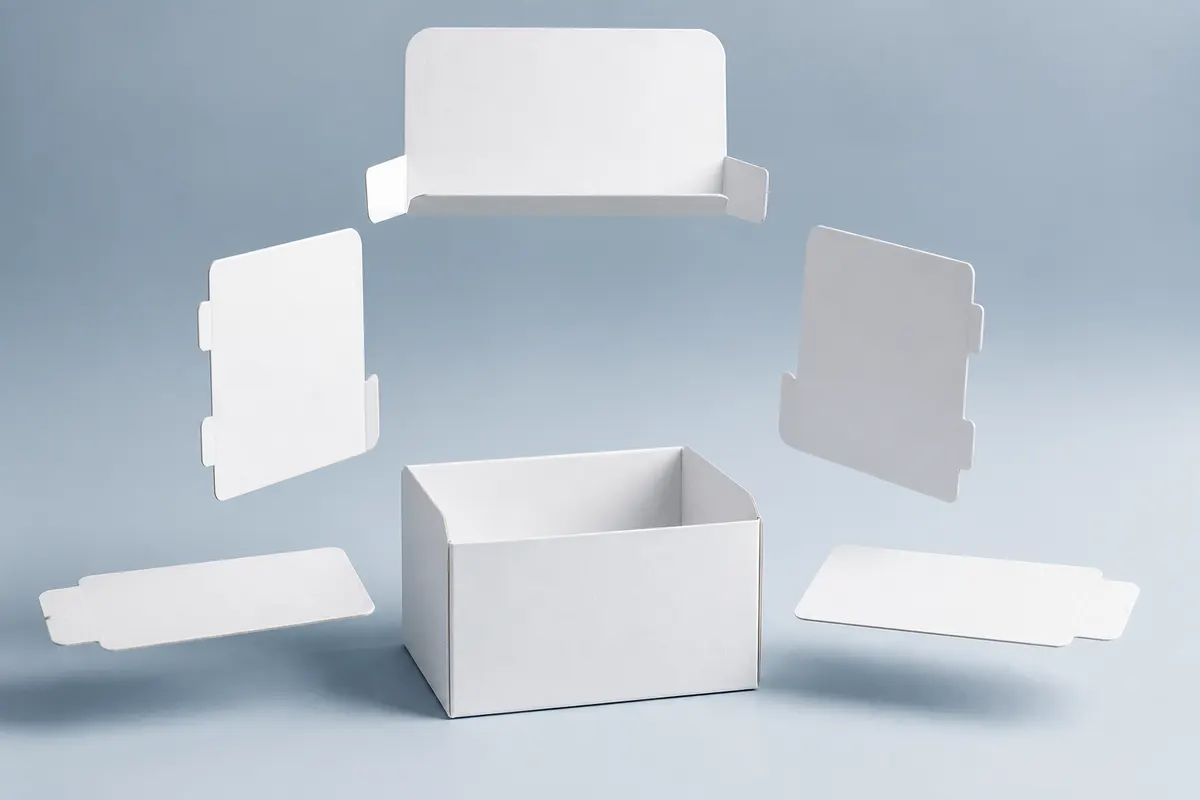
If you need a 3D box mockup online—with your own dimensions, artwork, and branding—you can build it in a browser without Photoshop templates or packaging CAD. 3D Box Studio lets you set width, height, and depth; pick a material; upload PNG or JPG art to each face; orbit the carton; open supported lids or flaps; adjust lighting; and export a PNG render.
This guide walks through a practical packaging mockup workflow: what to prepare, how to customize every side, how open-box previews work, and how a 3D mockup differs from a production dieline. Use it as a tutorial for yourself or as a shareable answer when someone asks how to create a custom box mockup.
What is a 3D packaging mockup?
A 3D packaging mockup is a visual preview of a carton, mailer, or product box as it will look in space—proportions, materials, graphics, and often how a lid or flap opens. Teams use mockups to validate branding, get client approvals, build presentations, produce e-commerce imagery, and explore concepts before committing to print or tooling.
A mockup is not a manufacturing file. It does not define cut paths, glue flaps, bleed, or crush specs. Structural packaging still needs a 2D dieline from your converter or CAD workflow. The mockup answers “does this look right?” so you spend less time fixing artwork after the first physical sample.
What you need before you start
Gather a few basics so the first preview is useful:
- Outer box width, height, and length (depth)—from a product brief, 3PL quote, or converter spec
- Logo and brand colors
- Panel artwork as PNG or JPG (recommended); one file per face is ideal
- Optional: separate art for front, back, left, right, top, and bottom
You do not need Photoshop smart objects or a finished dieline to start. Open the Studio in your browser to create a mockup with the currently available save, sharing, and export options.
Step 1 — Set your box dimensions
In the Studio, enter Width, Height, and Length (depth). You can switch between millimeters, centimeters, and inches while keeping the box proportions consistent.
Example: a compact apparel mailer might be 30 × 8 × 22 cm (width × height × length). A retail tuck carton might be closer to 7 × 20 × 4 cm. Wrong proportions make logos look oversized or panels look empty—even when the artwork itself is fine—so match the outer carton you plan to buy or manufacture.
You can also start from a built-in template (mailer, tuck-end carton, shipping carton, rigid gift box, and others). Templates set suggested sizes and an opening style; editing dimensions afterward switches the template back to custom.
Step 2 — Choose your packaging material
Material presets change how the board looks under your graphics—roughness, sheen, and base color. Options include materials such as kraft, white carton, corrugated board, matte or gloss finishes, and premium foil-style surfaces.
Pick a base that matches how the unprinted board should feel (kraft for eco shippers, white carton for retail folding cartons, foil for premium gift packaging). The material choice changes how light catches the surface and how your artwork reads in the 3D preview; uploaded graphics sit on top of that material response.
Step 3 — Add artwork to each side of the box
This is where a custom packaging mockup becomes useful. In 3D Box Studio you can upload artwork to each exterior face independently:
- Front
- Back
- Left
- Right
- Top
- Bottom
If you choose a split-top opening, the whole top is replaced by left and right top flaps, each with its own artwork slot.
Recommended face workflow
- Select a face in the face artwork panel.
- Upload a PNG or JPG for that face.
- Rotate the texture in 90° steps if the art is oriented wrong.
- Repeat for the remaining faces—or use Apply to all faces, then replace sides that need different art.
- Orbit the model and check logo scale, alignment, and readability from a shelf or product-page angle.
Artwork is UV-stretched to fill each rectangular face. There is no separate crop or pan control today—export face panels that already match the aspect ratio of each side for the cleanest result. For a composite flat layout with multiple panels in one file, split or export each panel as its own image before uploading.
Need a Photoshop-free path from flat art to 3D? See how to create a packaging mockup without Photoshop.
Step 4 — Customize the inside of your packaging
Many clothing and subscription brands want a branded message inside the lid. Treat that as a separate production brief. Use the open-box preview only to understand cavity visibility and exterior reveal—not as a place to design or mock interior graphics.
Step 5 — Preview your box open and closed
Set an opening style, then use the open-amount control to animate from closed to open. Supported styles include closed (no motion), lids from back, front, left, or right, a center-meeting split top with two flaps, and single or double side doors.
Not every real-world carton maps 1:1 to these modes—for example, “mailer” in the studio is a size/opening template that uses a lid-from-back motion, not a separate mechanical type. Choose the opening that best matches how stakeholders will see the pack.
Open-box views are especially useful for mailer packaging, clothing brands, subscription boxes, and unboxing presentations—anywhere the reveal matters as much as the closed shelf look. For DTC mailer workflows, also see mailer box mockups online and subscription box unboxing previews.
Step 6 — Adjust the camera and lighting
Use the viewport controls to inspect the mockup the way a customer or client will:
- Orbit (drag) to rotate around the box
- Scroll or pinch to zoom; use the zoom slider for precise framing
- Right-drag to pan
- Optional auto-rotate for a continuous turntable feel
- HDRI environments: studio, city, warehouse, sunset, or dawn
- Toggle floor grid, orientation axes, and wireframe when useful for structure checks
For a hero product render, a three-quarter angle with studio or warehouse lighting usually reads clearly. Switch environments if you are matching a lifestyle shoot versus a clean catalog look.
Step 7 — Export your packaging mockup
When the preview looks right, export a viewport PNG for decks, product pages, social posts, packaging approvals, and pitch materials. You can also record a short viewport video of the opening animation for unboxing context, or download a JSON backup so you can reload the design later.
PNG export captures the current viewport (including lighting and framing). There is no separate transparent-background export option. Cloud save and view-only preview links help you share an interactive review instead of emailing static files alone—useful for e-commerce product listing mockups and client rounds.
Example — Creating packaging for a clothing brand
Imagine a premium apparel label launching a seasonal drop. They want a mailer-style clothing packaging mockup: logo on the lid, brand color on the sides, custom outer dimensions from their 3PL, and both open and closed frames for the lookbook.
- Open the Studio and start a new project.
- Start from the Mailer / shipping box template (or enter exact cm sizes from the carton quote).
- Confirm the lid-from-back opening and set open amount to about 35–50% for a mid-open hero shot.
- Choose white folding carton or kraft depending on brand positioning.
- Upload lid (top) artwork with the logo centered; upload side and front panels with brand color fields.
- Orbit to a three-quarter camera; switch HDRI to studio lighting; export a closed PNG and an open PNG.
- Save your project and share a view-only preview link with merchandising for approval.
Interior lid messaging is still prepared outside the Studio for print—there is no editable interior artwork in the 3D tool. The open mailer preview is still useful for judging how much of the cavity appears on camera during early creative buy-in.
Other packaging mockup ideas
The same custom-size workflow applies across categories:
- Cosmetics and beauty cartons—tall tuck-end proportions and foil materials (cosmetics packaging preview)
- Candles and home fragrance—rigid gift proportions and soft-touch or kraft bases
- Electronics and gadgets—corrugated or matte plastic shippers with clear front branding
- Subscription and gift boxes—open-lid storytelling and seasonal face swaps
- Small-business product boxes—quick iterations before a first print run (small business packaging guide)
- Food and beverage cartons—shelf-angle checks for front-panel hierarchy
3D box mockup vs dieline
A 3D packaging mockup visualizes appearance: size, graphics, materials, and how the pack opens in a presentation. A dieline is the 2D production template—cuts, folds, bleed, glue areas, and manufacturing notes your printer or converter needs.
3D Box Studio does not generate production-ready structural dielines. Use it early for look-and-feel and stakeholder alignment; use packaging CAD or your converter’s templates when you are ready to plate. For team workflows around simulation versus CAD, read 3D box simulation for packaging teams. If you are comparing free visual tools to fuller platforms, see our Pacdora alternative overview.
Tips for better packaging mockups
- Use high-resolution PNG or JPG art sized for each panel
- Keep logos and critical copy away from estimated fold and edge zones
- Check every face—including back and bottom—before exporting
- Inspect from multiple camera angles, not only the front
- Enter realistic outer dimensions from a quote or sample
- Preview both open and closed states when the opening matters
- Confirm text stays legible at the final PNG framing
- Keep brand proportions consistent across faces after UV stretch
FAQ
Can I create a 3D box mockup for free?
Yes. 3D Box Studio offers a free way to create 3D packaging mockups in your browser. Open the Studio to see the current save, sharing and export options.
Can I make a packaging mockup without Photoshop?
Yes. The studio runs in your browser. Upload PNG or JPG artwork directly to each face—you do not need Photoshop smart objects or layered mockup templates. See also packaging mockups without Photoshop.
Can I use custom box dimensions?
Yes. Enter width, height, and length (depth) in millimeters, centimeters, or inches. You can start from a ready-made template (such as mailer or tuck-end) and override the sizes at any time.
Can I add different artwork to every side?
Yes. Upload artwork independently to front, back, left, right, top, and bottom. You can also apply one image to all faces, then replace individual faces as needed. Artwork is UV-stretched to each face rectangle; you can rotate it in 90° steps.
Can I design the inside of a box?
Not yet as editable interior artwork. When you open a lid or flaps, you can inspect the cavity, but the inside liner is a fixed unprinted surface. Use the studio to validate exterior branding and opening behavior; prepare interior print separately with your converter or printer.
Can I preview the box open?
Yes, for supported opening styles. Choose a lid, door, or split-top opening, then use the open-amount control to preview closed through fully open. Closed mode keeps the box sealed with no motion.
Can I create a clothing packaging mockup?
Yes. Start from the mailer template or enter custom apparel-box dimensions, upload lid and side branding, set a lid opening, and export open and closed PNG frames for e-commerce or unboxing decks.
Can I export the mockup as PNG?
Yes. Export a viewport PNG for presentations, product pages, and client review. You can also record a short viewport video of the opening animation, or download a JSON backup of the design.
Do I need a packaging dieline?
For manufacturing and print production, yes—you still need a structural dieline from your converter or packaging CAD tool. A 3D box mockup is for visual validation and presentation. Use both: mockup early for look and feel, dieline later for cuts, folds, and bleed.
Is 3D Box Studio a packaging CAD tool?
No. It is a browser-based 3D packaging simulator and mockup generator. It complements structural packaging CAD and dieline workflows rather than replacing them. New to the category? Start with what a 3D box designer is or the free 3D box maker overview.
Create your custom 3D box mockup next
You now have a complete path from dimensions and artwork to an interactive 3D packaging mockup and PNG export. Open the studio, enter your carton sizes, dress each face, preview open and closed states, and share a link with your team.