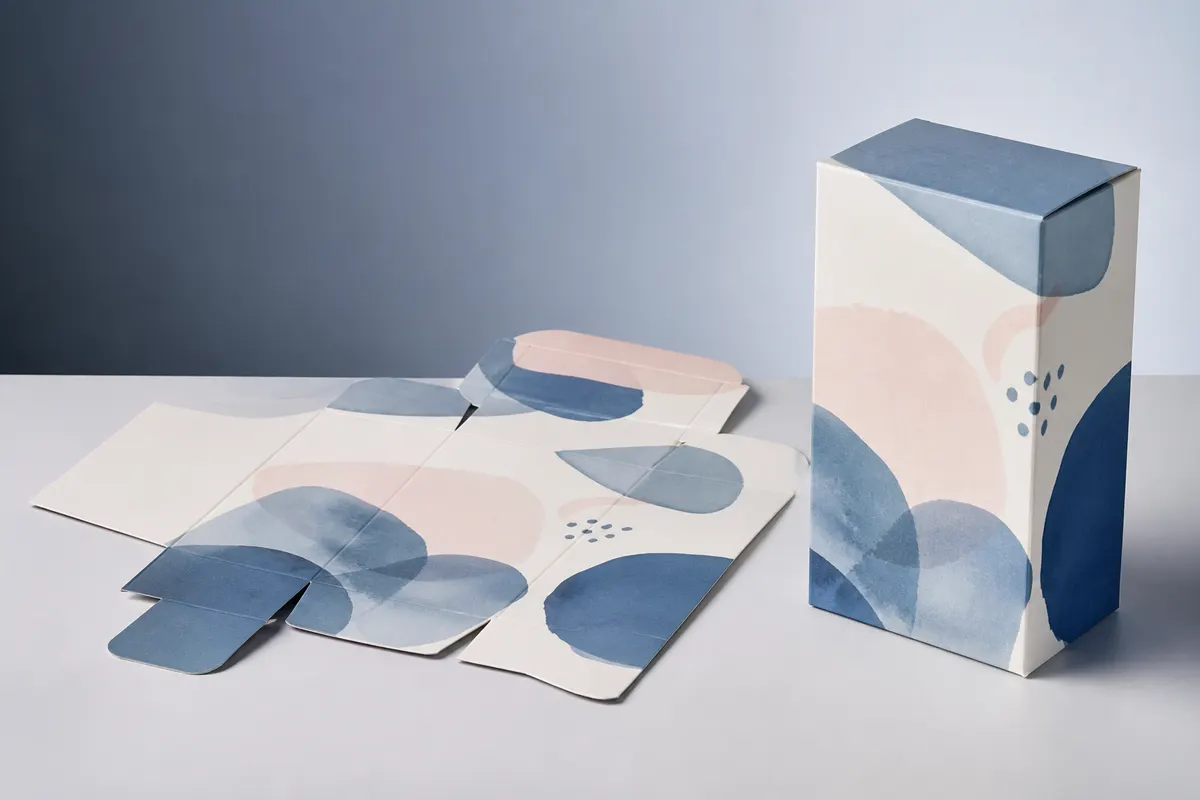

A box dieline is the flat structural layout that becomes the assembled package. In a dimension-aware workflow, the dieline is not just a downloadable template—it is the bridge between the box structure, the artwork canvas, and the 3D preview.
1. Choose the packaging structure first
A reverse-tuck carton, straight-tuck carton, lid box, and mailer do not share the same panel relationships. Start by choosing the supported structure that matches the packaging concept.
2. Enter the finished dimensions
Set the finished width, height, and depth in the unit you are designing around. The template geometry uses those dimensions to shape the flat layout and assembled model.
3. Generate and inspect the flat layout
Use the generated layout to understand which panel becomes the front, back, sides, top, bottom, and relevant flaps. This is where design decisions become panel-aware instead of being placed on a generic rectangle.
4. Place artwork on the dieline
Upload artwork, position it on the appropriate panels, and use crop, resize, rotation, exact transforms, and layers as needed. Keep important elements away from folds and edges unless the design intentionally crosses them.
5. Preview the assembled package in 3D
Move into the 3D preview to check panel hierarchy, edge transitions, corners, opening behavior, and camera angles. If something feels wrong, return to the 2D layout and adjust the same design.
6. Validate before production
What is a box dieline?
A box dieline is the flat structural layout of a package, showing the panels and fold/cut relationships used to form the box.
Can I generate a dieline from box dimensions?
For a supported packaging structure, yes. The structure rules and finished dimensions can be used to produce the flat layout used for design and visualization.
Is an online dieline automatically production-ready?
No. Production files still need validation for material, caliper, tolerances, bleed, fold/cut rules, glue areas, tooling, and printer-specific requirements.