A drawer box is the sliding box that jewellery, chocolates, tea and premium gifts so often come in. Pushing the tray out of its sleeve is a small, satisfying reveal, and the sleeve gives a clean surface for branding. It is two simple parts, a tray and a sleeve, and both fold from flat board.
This guide explains how each part is made, how to size them so the drawer slides well, and how to make the dieline in your own size with the free drawer box template, then design it and watch it slide open in 3D.
How a drawer box works
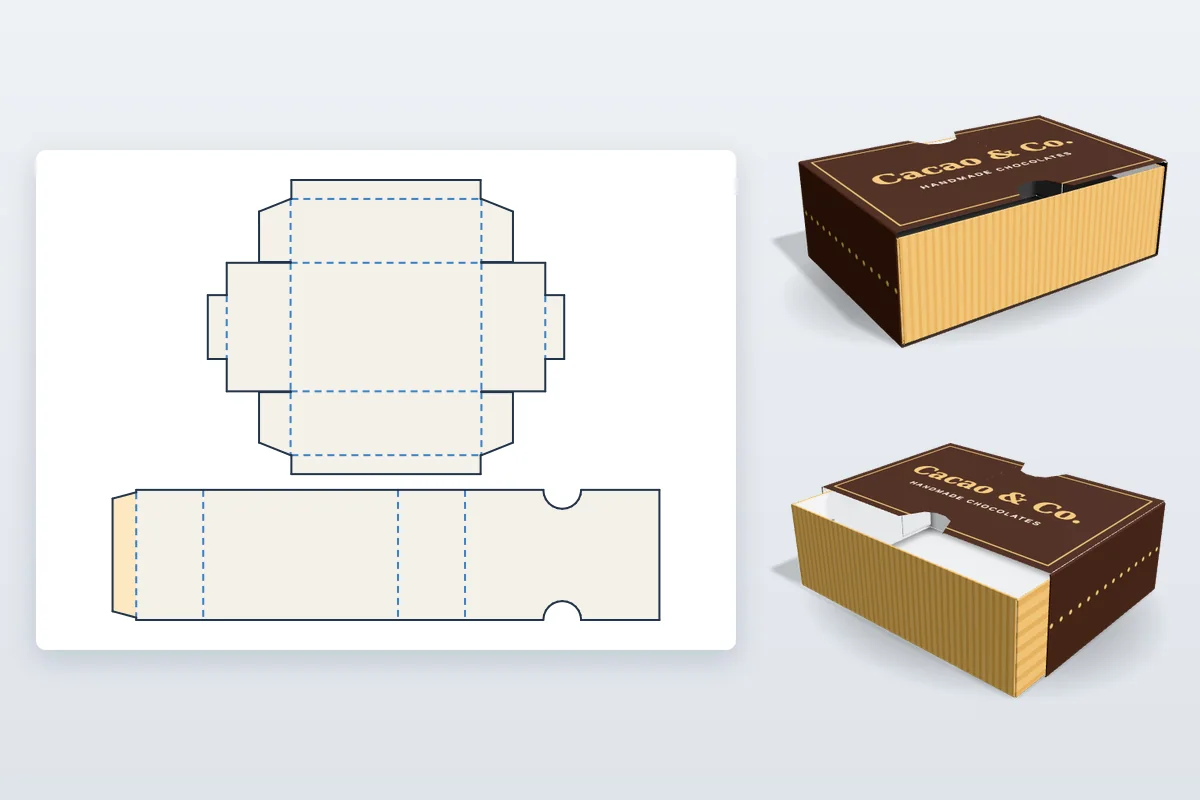
- The tray is a bottom with four walls. The front and back walls have ears at each end that fold round the corners, inside the side walls.
- Every wall has a turn-in along its top edge that folds over and down inside the wall. The turn-ins make the walls double, give them a clean top edge, and trap the ears so the tray holds together without glue.
- The sleeve is a tube: two sides, a bottom and a top, glued along one edge and open at both ends. It is sized round the tray with a little play.
- A half-round thumb notch at each end of the sleeve's top lets you push the tray out from either side.
Choosing the size
- Width: the inside of the tray from side to side.
- Depth: the inside of the tray from front to back. The drawer slides out along the depth.
- Height: the inside height of the tray walls.
- All three are inside sizes of the tray. The sleeve is worked out from them, so you only measure the product.
- Sleeve play: about a board's thickness each side by default. More play slides more easily; less feels more premium but needs accurate folding.
As a starting point: a ring or earrings fit a drawer about 80 × 30 × 80 mm, a box of twelve chocolates 160 × 30 × 120 mm, and a tea or soap gift set 140 × 50 × 100 mm. The template page has these as presets.
Make the drawer box dieline in your size
- Open the drawer box template and pick a preset or type the width, height and depth in millimetres or inches. The dieline redraws as you type.
- Open it in the Studio and set the board thickness. Under Box & Size you can also set the sleeve play, the turn-ins, the thumb notch size and the glue flap.
- Place artwork on the sleeve and the tray. The sleeve's top and sides are what people see first; the tray's front wall shows at the open end and is the first thing seen when the drawer slides out.
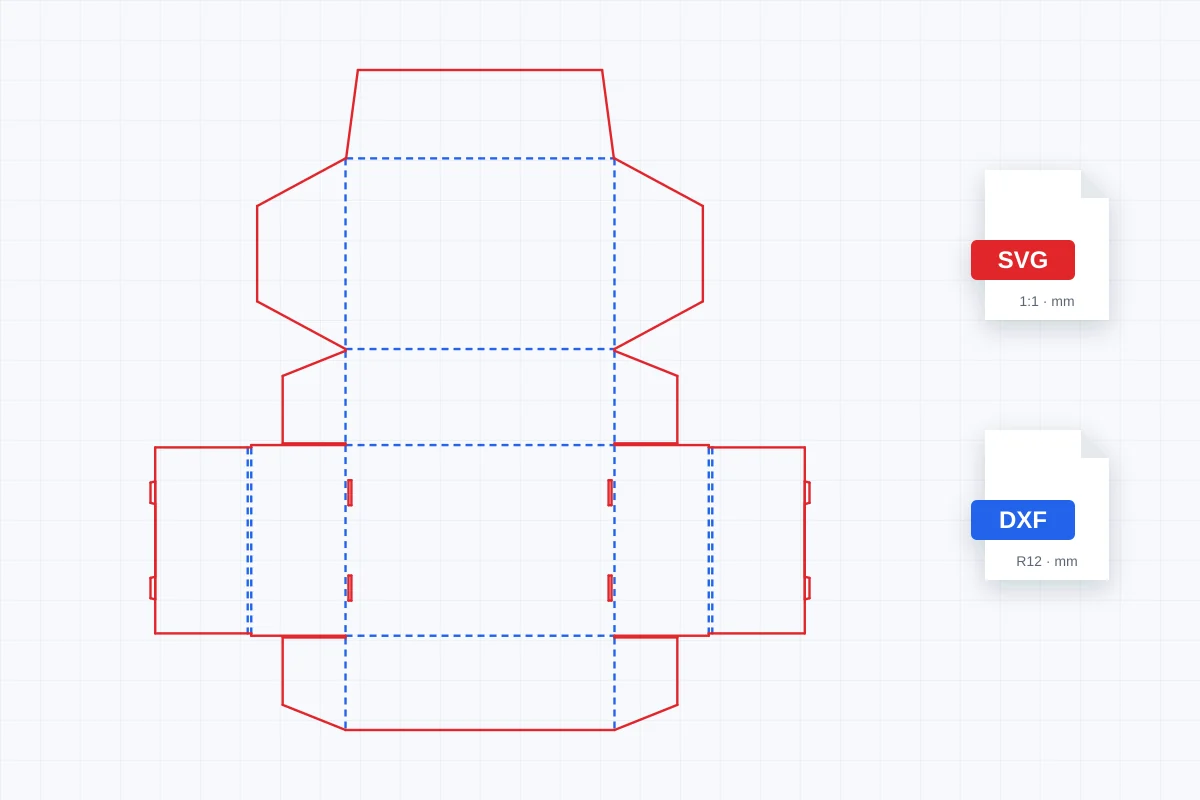
- Slide it open in 3D to check both parts, then export a 1:1 PDF, or the cutting template as SVG or DXF.
Folding it by hand
- Cut along the solid lines, including the thumb notches, and score the dashed lines.
- Tray: fold up the front and back walls, fold their ears in round the corners, fold up the side walls over the ears, then fold each turn-in over the top of its wall and press it down inside.
- Sleeve: fold the sides and top round, glue the glue flap inside the top, and let it dry flat.
- Open the sleeve into a tube and slide the tray in.
Designing for a drawer box
- Put the logo on the sleeve's top, away from the thumb notches at its ends.
- Give the tray's front wall a colour or pattern: it shows at the sleeve's open end and leads the eye as the drawer slides out.
- The turn-ins fold over the tray's walls, so artwork on them shows along the top edge inside; a solid colour or a short message works well.
- Print the inside of the tray for a reveal when the drawer opens.
- Leave the sleeve's glue flap free of ink and varnish so the glue holds.
Before production
The template is drawn from your size and board thickness, which is what you need for design, proofs, samples and quotes. How tightly a drawer slides depends on the board and how accurately it is folded, so for a production run send your printer the size and the cutting template, and ask them to confirm the board and the sleeve play with a sample.
What is a drawer box?
A box in two parts: a tray that holds the product and a sleeve it slides into, like a matchbox. It is also called a slide box or a sleeve and tray box.
Is there a free drawer box template?
Yes. The drawer box template in 3D Box Studio is free. Enter the inside size of the tray and it draws the tray and the sleeve on one sheet, with corner ears, turn-ins and thumb notches, and shows the drawer sliding in 3D. Designing and exporting need a free account.
How much bigger should the sleeve be than the tray?
A little: the template adds about a board's thickness of play on each side and above, so the tray slides without rattling. You can change the sleeve play in the Studio; thicker board and heavier products need a little more.
Does the tray need glue?
No. Its front and back walls have ears that wrap the corners, and every wall has a turn-in that folds over inside it and holds the ears in place. A dot of glue under each turn-in makes it sturdier. Only the sleeve is glued, along its glue flap.
Can I download the drawer box dieline?
Yes. Export a 1:1 PDF with your artwork, bleed and cut and crease lines, or the cutting template on its own as SVG or DXF for a die maker, cutting table, Cricut or laser cutter.